The Einsteinian Zone - Part IIFebruary 7, 2025 So we got through the armscye and if you didn't read that, click the <View this email in your browser> link above, and it will take you to this message in your browser, but on
the left column are all my past emails.
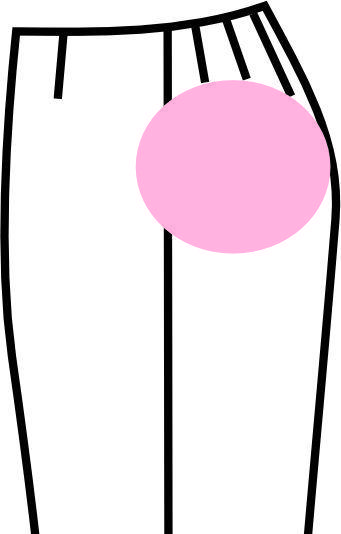
There's another location for the Einsteinian Zone on our bodies and it the crotch seam. The same thing happens here as does the underarm seam. When you take in the seam, you get more room, when you release the seam you get less room.
What makes this one different is that although you may have cut your pants pattern from your hip, but then you must also be aware of the girth of your upper thigh, your stomach area, and
if you having a drooping butt, you have to calculate that too.
Additionally the crotch seam can have it's own shape that an armhole really doesn't have to deal with. That means that you may have to do some adjustment on the seam itself while you're figuring in the crossover point between the width lines and the length lines of the pattern. But this isn't insurmountable so don't worry because the truth is that it's solvable.
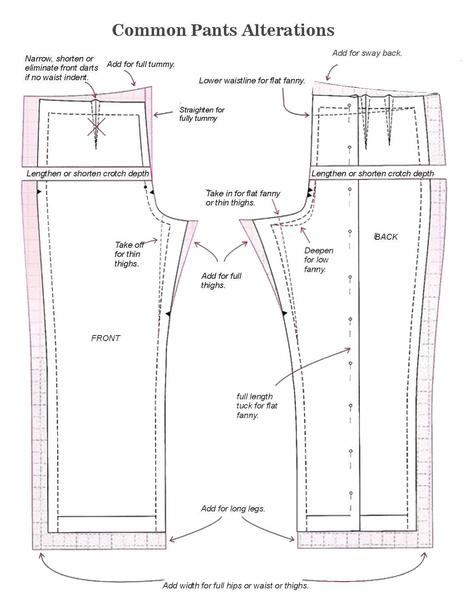
I like this diagram cause it pretty much describes what's going on with fitting. The best way to describe where exactly the Einsteinian Zone is, is to think of everything in pants that deals with length, is going to be "in the zone." While every seam
having to do with girth, will not be in the zone.
You will notice that the split to lengthen the crotch, doesn't exactly follow the Einsteinian rule (that taking up gives more space and letting out creates less space, but actually it does. What cutting along the horizontal line does is retain the curve of the bottom of the crotch, so that you're not trying to figure that curve out.
One quick word here that's not featured in this drawing. When you are
sewing/fitting this crotch line, you are also fitting the shape of the line of YOUR body's crotch too. This encompasses your front stomach and your back fanny, so that it is fit as well.
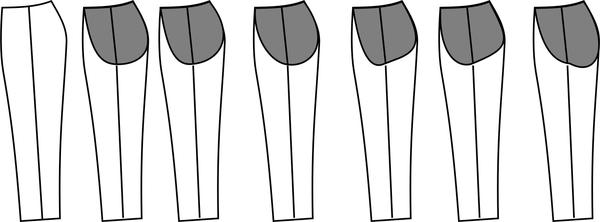
Here's my point. Each one of these crotch seams is different, however they all follow the pant side silhouette. On the outside, they look like they are the same, but they all are fit differently. This is the size of the curve from your
waist, through center front of your stomach, to the depth of your crotch up to the curve of your fanny. This may look weird, but what we need to do here is to account for this shape.
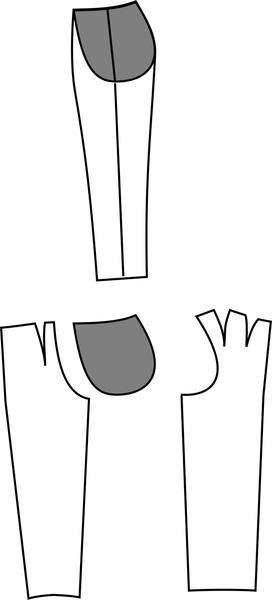
So here is how one of these pants looks (the one, second to the left on the drawing above.
Once the fit is made, then draw that line and tilt and everything from the pattern seam lines (which I recommend you mark with a Sharpie permanent pen). You will need to adjust (add or reshape darts), as in this sway back version, the back had a huge dart.
The rule on darts is that two are softer than one. Three are softer than two and when you do this in the back of your pants, the darts should be arranged methodically.
Notice how the darts on the back (right side) are arranged. They are flared evening, and they are even graduated in length. They curve around the fanny area to make for a much softer rounder curve in the fabric, but your rear isn't angular!
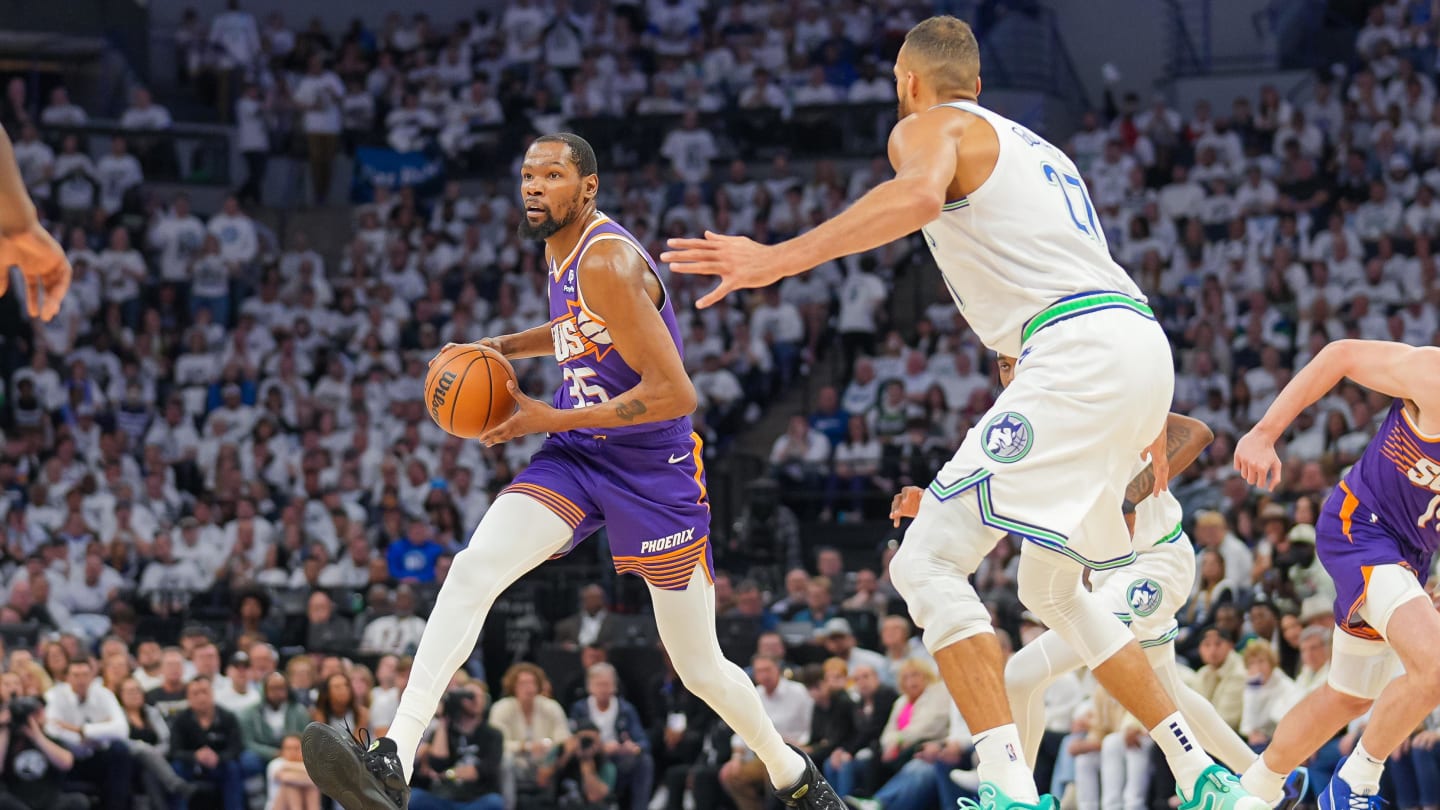
Back to the lengthening and the "zone" area, when you take up that seam, you have to be careful so you don't look an NBA player with your crotch depth down to your knees.
And this is probably the toughest seam to alter and fit, because the only way you're going to know if you have the right rise, or crotch depth, is if you sew it and you must trim out the excess fabric. Then if it's too low, what do you do? You have to
let it out, but you've cut all that fabric out. This is why the muslin is key - and I simply add some of the fabric back into that crotch seam till I get the depth correct.
How do you know it's correct?
Woven: When you have no stretch you have to allow fabric so that you can move in the garment, most importantly sit down. You don't want to turn into an artifical soprano
with the crotch seam cutting you in half. At the same time you don't want a bunch of baggy material in that area. This is a try, sew, sit, take out seam, draw another line, sew, sit, take out seam process, till you get it the way you like it.
Ponte: There's less stretch here, so that means you can make the crotch seam or rise a little higher. Personally I don't like it high at all, and I usually wear my ponte pants
with jackets that are longer so I can wear a longer rise or crotch depth without looking I'm playing for the Lakers!
Activewear: Like leggings, the one thing you want to make sure is that you have enough at the waist when you sit down. Of course the camel toe is not ever appropriate, so you want to make sure your rise or crotch depth is comfortable, and that when you sit down your leggings don't feel too low in back or too high.
One final note. I do not teach the woven pants pattern any more. RTW has so completely confused ease with bagginess, and people look at their rear and think, it's too baggy therefore it doesn't fit. But when they sit down the pants don't mimic your favorite plumbers' jeans, which isn't fitting either. So instead I've turn to the Ponte pant and you can get that marvelous straight drape of a leg, and the comfort of sitting down knowing you won't be splitting a
seam any minute. With the Ponte pant, you can also concentrate on the drape, hang, tilt of the pant and end up with a marvelous look, without that bagginess that the woven pant requires to move in. I have much more success with my students and they seem to be very pleased and make them up again and again. I have about 15 pairs of ponte pants in my closet now and they all look great on me, and my students tell me the same thing. Just as important, as I bounce up and down
in weight, the pants have a nice "give" to them so that the hang remains good, and yet I'm not having to suck myself in to fit into something a little snug.
I know many of you are working on woven pants, and that's an honorable cause and I surely don't want to discourage you. Just know that you must have drape, and know that sometimes that drape looks like bagginess. It's not. It has to be there.
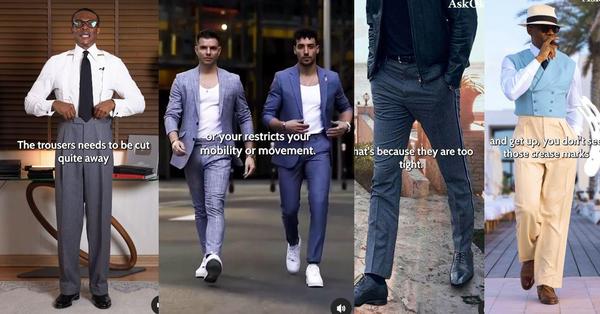
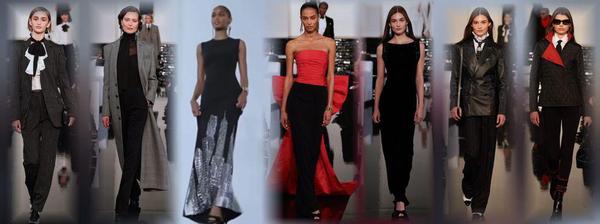
Here's my favorite tailor these days showing that his
beautifully draped jacket and pants are anything but full. This is the consummate tailored jacket that was really highlighted by the Duke of Windsor who was considered the ultimate in style in fashion at the time as was his Duchess.
Most people would consider this baggy, but this is beautifully tailored drape that shows how beautifully it moves.
This tailor is constantly making the point that too tight (more Italian cut) suits and pants are really not that attractive. Personally I've always felt that any man who had to wear his clothes this tightly or even moderately tight, were very weak or
"short" in other areas, so they had to brag about their physique in another way. What a treat, when a man wears a more modest silhouette and then takes off the jacket to show an excellent line and style. It's so much sexier.
Hopefully this has helped explain some of the mysteries of fitting pants. There is a lot of sewing up, trying on, and ripping out in making pants, and that's simply the nature of the beast. Why? Primarily because to get a really good fit, we
would have to slice you in half at your waist line, then slice you in half again to separate right side from left side, so we could look at that crotch shape. Aside from causing a huge mess, there's no one who can survive that fitting technique! So at best we are left with trying on, and refitting over and over. When this happens, don't think you're making a mistake cause you can't fit yourself on the 5 or 10th fitting. It's the tweaking that takes a while and once you
have that fitting, then it's about 2 hours max, per pair of pants to layout, cut, and sew them up. Pants become easy and a beloved member of your wardrobe!
The SewingArtistry Resource Library is designed to contain information to not only make your sewing better, but to aid in you fitting and flattering your shape, size and style. Check it out.
Look for future classes coming in 2024
The Core Pattern Shirt, (one of my favorites for woven core pattern that you can make into a myriad of different
garments),
Basic Knit Top (core pattern class for knit basic tops, shells, tees, dresses, and tunics)
|
Tracking a fashion trend isn't all that hard after seeing a few of them.
Living from Mid-Century Modern through Twiggy...
It's worth the time to look at these styles, particularly today as
there is a group of that wants to look....
This is the way fashion used to be -- pretty, flattering and I can't wait to make some of...
NOTE: There are some folks who can't get my email, or it's sporadic, or something is hinky. I will always respond to any of you who send a private message, whether it's about the topic of the week or something else. If you don't get anything
from me, it's probably because the [email protected] email is blocked, and even a private message can't get through. In that case, I'm on Instagram often, and you can always PM me at @sewingartistry.
As a precaution,
please ensure I'm in your email Address Book and check your spam, junk, and trash folders. Some email clients get extra excited when they see emails coming into the Inbox that go to many other receivers. They automatically think it's trash or spam, and it never makes it to the Inbox. I must constantly check my spam and junk folders to ensure I'm getting the emails I subscribe to.
To view in browser along with past emails, click here. We respect your email privacy. |
|
|